Are you looking to make a gelly candle but aren’t sure where to start? Maybe you want to start a small business selling candles and don’t know how to make gelly candles?
Or are you curious and want to know more? No matter what the reason is that brought you here today, we have the answer for you!
Learning how to make candles, especially gelly candles can be tricky. You head online to find some instructions but are met with conflicting and contradicting advice.
How are you supposed to know who to trust and which method is the right way to make gelly candles?
You start to wonder if you will ever know how to make gelly candles.
Well, no more! Today we are here with the answers that you need. Just keep reading to find out how to make a gelly candle and everything else you need to know about them.
How To Make A Gelly Candle
Let’s get straight into it! Making a gelly or gel candle is far easier than perhaps you originally thought. We have created a handy step-by-step guide that you can follow to create your gelly candles.
Keep reading to see our steps and a list of all the materials you will need to make your candle.
What You Need
To start, gather all your materials before you begin. This saves you time hunting around for them later on and allows you to have everything you need in one easy-to-reach location.
We recommend laying your materials out on your workbench or table before beginning. You will need the following items to make your gelly candle:
Pouring pots to pour your melted wax into molds or candle holders
Thermometer
Glue dots
Wick (one for each candle you plan to make)
Glass jars or other containers
Wax embeds
Gel
Essential oils or any scents you wish to add
Once you have these items, you can get started! Most of them can be picked up online or in craft stores for a reasonable price. You don’t need to spend a fortune to create your perfect candles today!
Follow our steps below to make your gelly candle now.
Step 1 – Choose Your Gel
First, you want to ensure that you have selected the right gel. You can choose from a CF Low Density, Medium, or High density.
The density you choose will determine how much scent it can hold and give off when you burn the candle. Typically a medium density gel is the most commonly used and will hold 0 to4% of the scent.
If you aren’t sure what gel you need, be sure to speak to a member of staff at your local craft store, or check out online tutorials to see what gels other people are using.
Step 2 – Choose Your Scent
We all love a scented candle, so choosing your favorite scent is important. But it is also important that you choose a scent that is non-polar with a flash point of 170 degrees Fahrenheit.
Most fragrances or essential oils will feature this information clearly on the label, so you don’t need to worry about finding this information out!
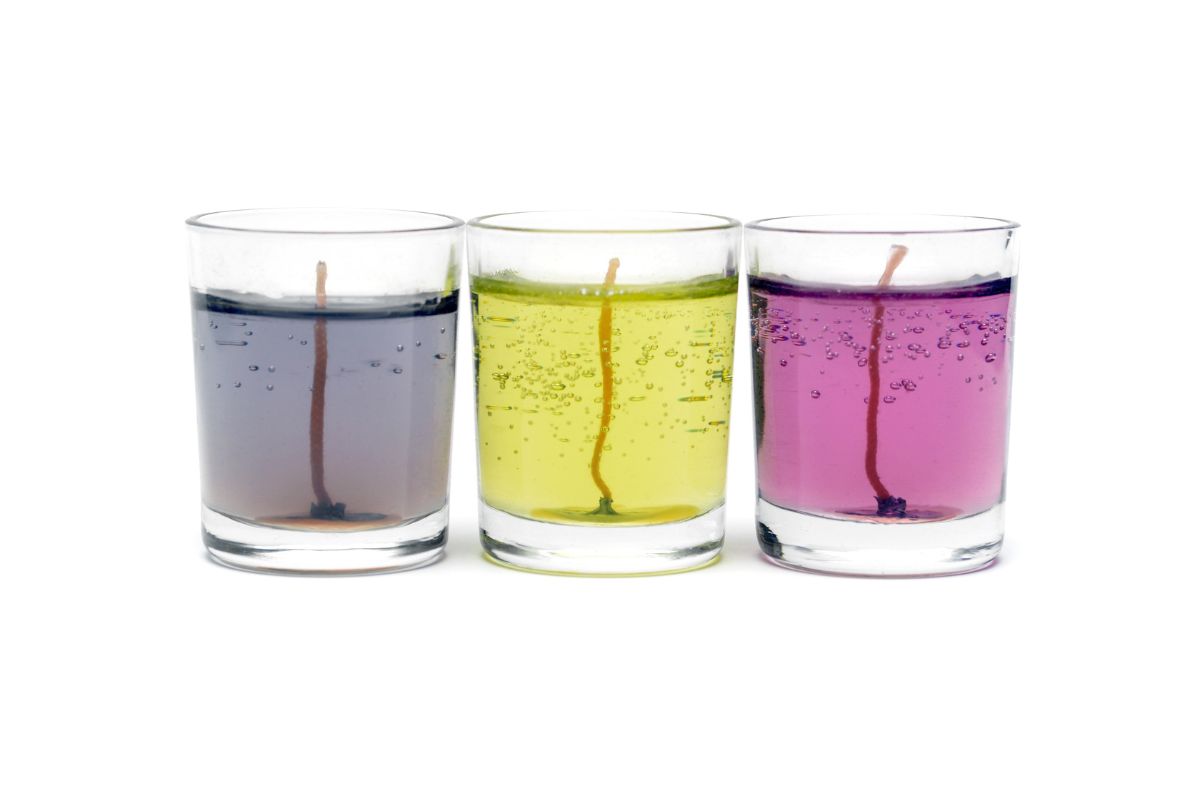
Step 3 – Consider Color
If you want a colored gelly candle, you need to use a liquid dye.
These aren’t wax-based like other dyes, so they won’t cause your gel to go cloudy. When adding dye to your gelly candle, you don’t need a lot!
Allow one ounce of gel for every 100 pounds of gel and you are sure to enjoy a bright and vibrant gelly candle.
We love a bright and vibrant gelly candle, so don’t be afraid to experiment with color! You never know what wonderful colors or patterns you could create, just swirl in some dye when making your candle and you are good to go!
Step 4 – Add Your Wick
Take some hot glue and apply it to the bottom of the container your candle is being made in. We recommend glass jars, especially clear ones as these will show off your candle beautifully!
Take your wick and stick one end of it into the glue and leave it to try. You can also use glue dots here if you prefer, whatever is easier for you!
Step 5 – Cut Your Wax
Cut your gel wax into small pieces and add them to a pot. Place them on a medium flame and allow the wax pieces to melt. Keep an eye on the pot while you are doing it to prevent the wax from burning.
Step 6 – Maintain The Temperature
While your wax is melting, use your thermometer to ensure that the temperature remains at 200 degrees Fahrenheit.
This is the best temperature as it will allow the gel to melt into a smooth and clear syrup.
Step 7 – Add Your Dye
If you are dying the wax, now is the time to do it! Slowly drip the dye into the gel to get the color that you want. Remember, you don’t need a lot of dye for your gel candles!
Step 8 – Add Your Scent
If you are adding scent to your candles, add it now. We recommend ⅓ of a teaspoon of your favorite essential oil for a mild scent in your candles. However, if you want a stronger scent, then feel free to add more.
If the candles you are making are a gift or to sell, we suggest sticking ⅓ of a teaspoon so the scent isn’t too overpowering for anyone with a sensitive nose.
Step 9 – Put It In The Oven
Next, take your mixture and place it and the container in an oven or microwave heated at 150 to 160 degrees Fahrenheit.
Doing so stops bubbles from forming. Once the gel has reached this temperature you can remove it from the oven and start to make your candles!
Step 10 – Make Your Candle
Take the containers you will be making your candles in and place them on a level surface. Next, slowly pour the gel into the container. It’s best to pour the gel while it is still hot to prevent bubbles from forming.
Step 11 – Straighten Your Wick
Straighten your wick and roll the free end with a pencil to stop it from drooping or bending. Allow the candle to cool before trimming the wick and you are good to go!
Final Thoughts
And there you have it, eleven steps that allow you to make your own gel candles. While it can feel a little fiddly, trust us, it is worth it to enjoy some bright and beautifully scented gel candles!
Crafts are some of life’s little pleasures, aren’t they? They have the power to transport you to another world for a few hours – it’s just you and the craft.
Hi, my name is Annabel Buser and I love crafts (could you tell?). From knitting to painting, embroidery to weaving, I love trying new crafts out.
What’s not to like? You gain a few hours of peace and self-care, and at the end of it, you’ll have made something gorgeous. My house is covered in my own crafts – and so are my friends and family’s houses!